01
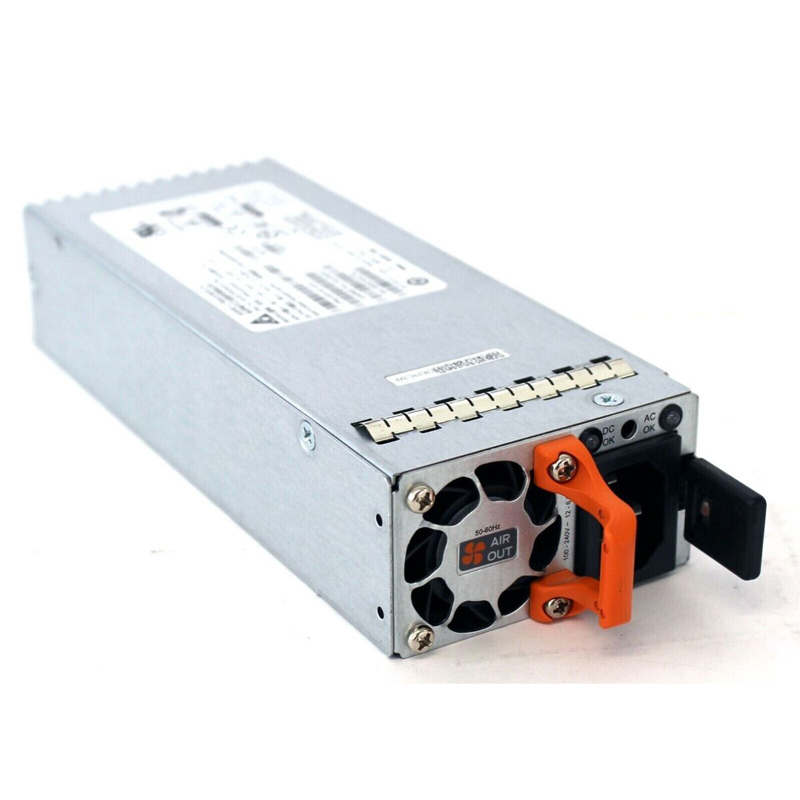
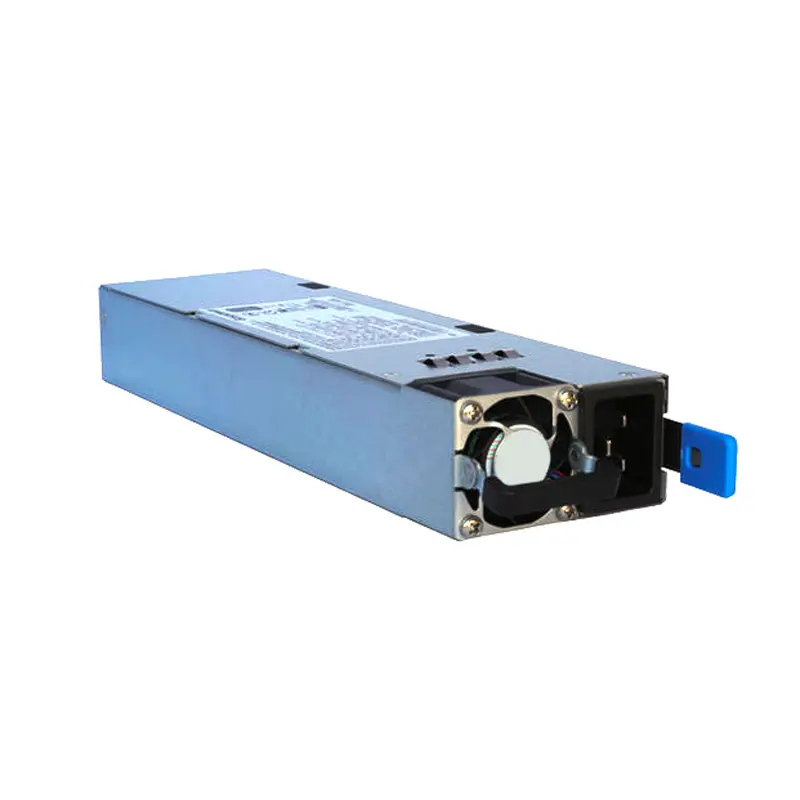
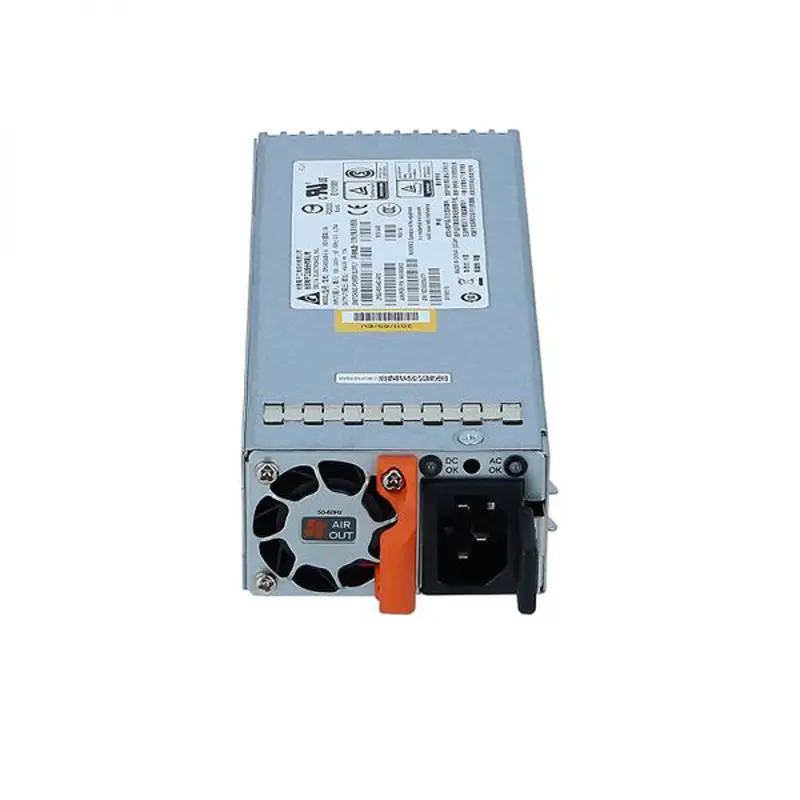
Juniper Power Supply JPSU-920-AC-AFO
product description
Its unique design effectively manages heat dissipation by channeling airflow from the front to the back, keeping crucial components cool under heavy loads. This smart cooling system enhances overall system performance while reducing maintenance requirements.
Equipped with advanced features, such as load-sharing capability and built-in protection mechanisms against overvoltage and short circuits, this power supply guarantees optimal stability for your network infrastructure.
Juniper JPSU-920-AC-AFO: EX3400 920W AC Redundant Front-To-Back Airflow PSU.
● Power Capacity : 920 W
● Input Voltage : 100-240 VAC
● Designed For : EX3400 Switches
● Air Flow Direction : Front-To-Back Airflow
● Model Number : JPSU-920-AC-AFO
● Part Number : JPSU-920-AC-AFO
● Condition : 100% new original
JPSU-920-AC-AFO 920W AC power supply
Front-to-back airflow
Power cord ordered separately
Front-to-back—that is, air intake to cool the chassis is through the vents on the front panel of the chassis and hot air exhausts through the vents on the rear panel of the chassis.
The AC power supplies in EX3400 switches are hot-insertable and hot-removable field-replaceable units (FRUs): You can install them without powering off the switch or disrupting the switching function. The switch is shipped with one power supply installed.
To install an AC power supply in the switch
1. Ensure that you have the correct power supply. The direction of the airflow in the power supply must match the direction of the airflow in the installed fan module.
2. Attach the ESD grounding strap to your bare wrist, and connect the strap to the ESD point on the chassis.
3. If the power supply slot has a cover panel on it, loosen the captive screws on the cover panel by using your fingers or the screwdriver. Hold the captive screw and gently pull it outward to remove the cover panel. Save the cover panel for later use.
4. Taking care not to touch power supply pins, leads, or solder connections, remove the power supply from the bag.
5. Using both hands, place the power supply in the power supply slot on the rear panel of the switch and slide it in until it is fully seated and the ejector lever fits into place.


